

 ILoveToCreate Teen Crafts
'Let Them Eat Chocolate' Tampon Case
Copyright 2010 Margot Potter
"Mom crafted, teen approved."
My husband and I used to own a gallery where we sold a variety of fair trade handicrafts, jewelry making supplies, vintage clothes and fun gift items. One of the items we carried was a wonderfully subversive Tampon Case created by an innovative young fella named Vinnie. Vinnie and I spoke a few times over the phone and I told him I'd love to see a more girly version. So I made a pink and felty one for my second book The Impatient Beader Gets Inspired (there's a pic below this post of that case.) My embroidered tampon case almost didn't make it into the book, but I fought for it and it stayed. Here's a new upcycled version made for the eco-conscious young lady who needs a stylish place to keep her feminine hygiene products and prevent them from getting destroyed at the bottom of her purse or book bag.
I'm of the mind that we need to be a little less weird about these things. Girls have periods. Got a problem with that?
Get over it.
So here's one for the girls! Being a girl is the best thing going. We should celebrate every aspect of what it is to be a girl and not be ashamed or afraid or uncomfortable. It's up to us moms to help our teens do that. This is a great project to do together and you can find fabulous old ties at the thrift stores for pennies. Aleene's Liquid Fusion glues turn this into a no sew project! Ya gotta love that. You can use the skinnier ties for iPod and cell phone pouches too. Vintage ties also make super cute skirts, bib necklaces, lamp shades, accents on purses...so get thee to the thrift store!

Materials
Vintage Tie (for this project a wider tie works best)
Coordinating Buttons
Large Heart Shaped Acrylic Charm
Metal 3-D Crown Charm
1" thick black grosgrain ribbon
Snap
Thin cardboard
10mm SP jump ring
Aleene's Fabric Fusion Glue
Aleene's Liquid Fusion Glue
Archival ink jet black
"Eat Chocolate" stamp Inkadinkado Amy Smyth 97479-MM
Tools
2 pairs chain nose pliers
Wire cutters
Chasing Hammer
Snap Setter
Steel Bench Block
Bench Block Pad
Disposable nail file or sand paper
Fabric Scissors
Crop-a-dile or 1/16" hole punch

1. Find a tie that's wide enough to create a sizeable pouch. You'll need to determine your needs based on the products you use. Measure tie taking into account a hem at the bottom and cut.

2. Use a seam ripper to open center of tie. Trace body of tie (not including top flap) on a thin cardboard or thick card stock.

3. Insert card stock into body of tie, cut off any excess card stock.

4. Fold bottom edge of tie and add a line of Fabric Fusion glue. Fold flaps over and add glue to secure. Add glue along seam of tie to secure closed.

5. Measure and cut bottom end of tie to wrap around bottom of pouch. Use Fabric Fusion glue to secure closed.
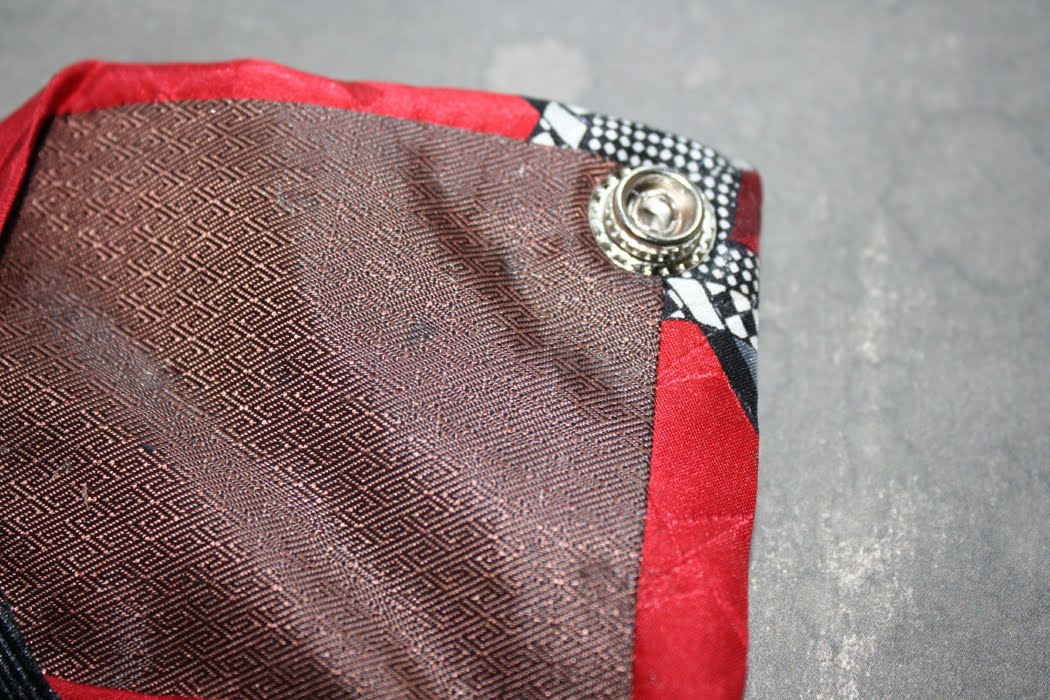
6. Attach snap to top of tie and corresponding area on pouch so it can be secured closed. I used a steel bench block, chasing hammer and bench block pad with the setting tool that came with the snaps.

7. Cut off and sand flush any shanks on the backs of your buttons using wire cutters. Glue layers of embellishments together with Liquid Fusion. Allow to dry. Glue to fabric surrounding snap using Fabric Fusion. Allow to dry. Add a second layered button accent to bottom tie flap on pouch with Fabric Fusion (see finished photo above.)

8. Use stamp and ink to stamp "eat chocolate" sideways on body of pouch. Allow to dry.
9. Glue a length of ribbon tucked into the tie accent at the bottom along the center seam to hide it.
Auntie Flo's Pretty Little Tampon Case from The Impatient Beader Gets Inspired
(Use Aleene's Fabric Fusion to glue layers after adding embroidery floss edges)
(Use Aleene's Fabric Fusion to glue layers after adding embroidery floss edges)


