Showing posts with label back to school crafts. Show all posts

iLoveToCreate Teen Crafts: Divine Damask Locker Magnets


iLovetoCreate Teen Crafts
Divine Damask Locker Magnets

Miss Avalon started High School this week and I am understandably ferklempt.  When did my beautiful baby turn into a gorgeous young woman?  She's gorgeous, creative, sweet and smart as a whip to boot!  She's taking honors classes this year, which means she's going to be a busy gal for sure.  Proud mama?  Yes indeedy do! 

Have you seen the 'Locker Chic' accessories in the stores this season?  They have everything from mini chandeliers to book shelves in an array of styles and colors all designed to work in a school locker using magnets.  What fun!  Avalon got this lovely damask set at a big box office store and I thought she just might need some coordinating magnets.  These are so easy to make with scrapbook papers or even recycled magazine or greeting cards or printed pictures, just use some matte finish Collage Pauge and add some texture with Tulip Beads in a Bottle and attach Aleene's magnetic tape to the back and just like that, instant locker chic!  Tres jolie, n'est pas?

Materials
4 2 1/4" diameter 1/4" wide wooden circles
Various coordinating scrapbook papers (or any fun papers you wish to use)
Tulip Fashion Bead Paint or Beads in a Bottle White
Tulip Soft Paint Black
Traci Bautista's Collage Pauge Matte
Aleene's Magnetic Tacky Tape

Tools
2" Circle punch
Paint brush
Sponge brush


iLoveToCreate Teen Crafts: Carnival Canvas Covered Notebook

Carnival Canvas Covered Notebook
Avalon Potter (a.k.a. NGC-New Generation Crafter) for iLoveToCreate
"Teen crafted, mom approved."

Avalon has been obsessed with tribal prints all summer, from ikat to Native American to African inspired patterns and chevron, she's been showing me pictures of bedding, bags, clothes, shoes all emblazoned with an array of colors and patterns.  I trust a teen to know what's really cool and she's a really cool teen.  She wanted to make something fun to express her new found love of all things 'pattern-y', and we remembered Claudine Hellmuth's fabulous sticky back canvas.  By covering a basic notebook with layers of painted and embellished canvas, she made a truly fabulous one of a kind work of art.  This is so much fun to do with the vast array of paints from Tulip and Scribbles brands and with school just around the corner, a great way to help your teen personalize their supplies!

Materials
Notebook with hardback cover
Sticky back canvas
Decorative tape
Tulip 3-d fashion paint
Tulip fabric markers
Scribbles brush on fabric paints
Scribbles fabric paint brushes
Tulip sponge pouncers

Tools
Scissors

Cut canvas to fit cover of book, leave a 1" edge, cut edge at corners, fold over book cover and press to remove any bubbles on front of book.  Add a decorative tape accent to left side of canvas to conceal edge.


Create three strips of canvas. Peel and press on notebook at top, center and bottom edge.  Paint each stripe and the spaces in between a solid color and allow to dry.

Make two rectangular mini-canvas accents using dimensional paint in patterns, press together and adhere to front of notebook.

Use markers and paints to make a variety of patterns along strips. 

iLoveToCreate Teen Crafts: Geek Chic Dazzling Calculator Cover


iLoveToCreate Teen Crafts
Geek Chic Dazzling Calculator Cover
Copyright Avalon Potter
"Teen crafted, mom approved."


Avalon is one of those amazing kids who excels at math and science and the fine arts. She takes advanced level classes and there are times when the work gets pretty tough. What better way to face the daunting task of a quadratic equation than armed with a little sparkle power? Tulip PDA (Personal Dazzle Assistance) makes quick work of taking a calculator from blah to BLING as quick as you can say Pythagorus. Isn't this fabulous? I am a proud mom indeed. Go, Avalon!


Materials
Calculator with cover
Tulip Glam-it-Up PDA Crystal Set in red and clear crystal
Scrapbook paper or cardstock
Heart stencil (we used the Fiskars 3" heart shaped template, cutting out the center of the heart using the 2.5" stencil.)
Aleene's Tacky Dot Runner

Tools
Fiskars Hearts Template and Cutting Tool
Nimble fingers!

1. Use template and tool to create open center heart using cardstock or scrapbook paper.

2. Use tape runner to add a little stick to the back of the stencil and adhere to the center of the calculator cover. Be sure cover is clean.


3. Starting from outside work your way to the center of the heart adding crystals as in photo. Alternate between red and clear crystals until you reach the center red crystal. Remove stencil and wipe any glue residue away.

4. Use the crystals to frame the outer edge of your calculator cover. Work only on the hard areas, leave the soft areas uncovered. There are 16 clear crystals at the top and bottom with 15 red crystals directly beneath them. On the sides there are 5 clear crystals on the top sides and 22 clear crystals on the bottom sides. This is a TI-inspire calculator, so adjustments will need to be made if using a different model. This calculator cover is 3"x8".

5. To create the x patterns, form a v shape with five clear crystals at the point of your heart. Add a second 10 crystal v shape using the red crystals. Create a 15 crystal v shape using the clear crystals. Repeat this pattern to form a mirror of the top half as in picture. Add 10 red crystals in the open areas of the center crystal x as in picture. Repeat this process at the top of your cover.

6. Check back to be sure all crystals are securely applied. Now get to that math homework already!

ILovetoCreate Teen Crafts: Cake Flower Folder

Mom says, "Avalon made a cute tank top for me this summer using 'cake flower' techniques. I love the look of these and think they have absolutely ENDLESS applications for designs. The dimensional fabric paint is perfect for this, because like a bead of icing it gives you enough color to spread and create this embroidered look. Very cool, Avalon!"


IlovetoCreate Teen Crafts
Back to School Cake Flower Folder
Avalon Potter
“Teen crafted, mom approved.”

I love to decorate cakes. One of my favorite techniques to use on cakes is called brushed embroidery. I was messing around with some Tulip paint and found this technique works just as well with paint as it does with icing! So being that it's back to school where I live I thought what better way to trick out my folder than to use my new technique. I have also used this technique on t-shirts and it works really well there too!

Supplies
Yellow paper folder
Pencil
Practice paper
Tulip Slick Dimensional Fabric Paint: Bright Red, Yellow, Lectric Lime
Small flat paint brush

Instructions


1. On your practice paper trace out your flower, then use the paint to trace over the flower.

2. On the stem use lectric lime, use yellow in the center, and red on the petals. Then take your brush and brush the red petals inward about half an inch.

3. Once you have the technique down trace out your flower on your folder then paint over it. Use your brush embroidery technique on the petals.

4. On the top write your first name and first initial in red. Let dry.


ILoveToCreate Teen Crafts: Felty Good Pencil Toppers


ILoveToCreate Teen Crafts: Felty Good Pencil Toppers
Copyright Margot Potter

"Mom crafted, kid approved."


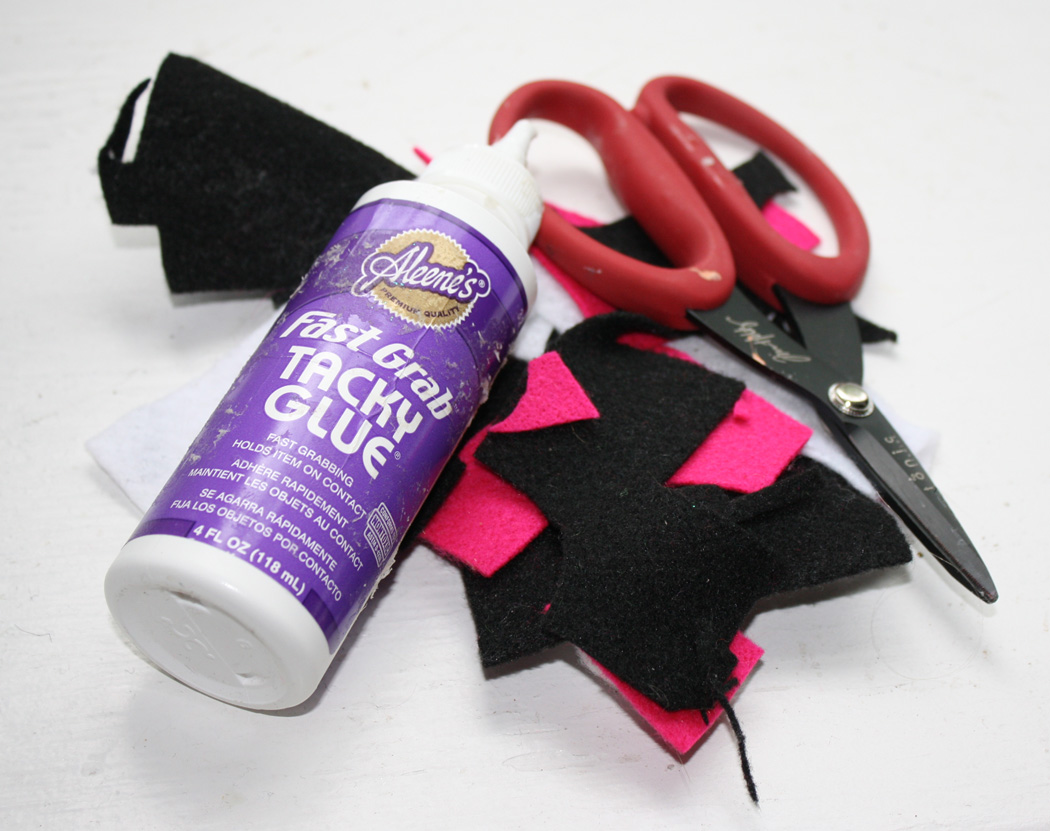
I can't believe it's almost back to school time around here! Avalon is excited to get her school supplies together. I love felt, and I always have a pile of felt scraps waiting to be used in projects. This pencil topper idea popped into my head and I'm really happy with how it turned out. Avalon squealed with delight when she saw these. You can, of course, make these uniquely yours using different colors, shapes and embellishments. Googly eyes are always fun! Aleene's Fast Grab Tacky Glue makes quick work of this project.

If you're knee deep in the dog days of summer and the choruses of "I'm bored" have driven you half mad, this is a great project to give your teens so they'll have something to do and something fun to take back to school..

Materials
Aleene's Fast Grab Tacky Glue
Various felt scraps in black, hot pink and white

Tools
Fabric scissors
Small disposable paint brush
Link
1. I cut two different length strips of felt for the base of the toppers. The black strip was 4.5"x1.5" and the black strip was 3 1/4"x 1 1/4" (remember these will be folded in half.) Cut out your shapes for the faces, arrange them on the felt strips to size and plan your designs.

2. Use a thin paintbrush to paint a strip of glue on the inside edges of the felt, fold over and allow to try. The center opening needs to be large enough to slide over a pencil top.


3. Use paintbrush to paint glue on the backside of your shapes and apply to felt. Fingers get sticky fast, so wash between embellishments to prevent fuzzy felt or glue splotches. Allow to dry.